Constructing a Curved Shield
From BelegarthWiki
| Line 43: | Line 43: | ||
==Examples== | ==Examples== | ||
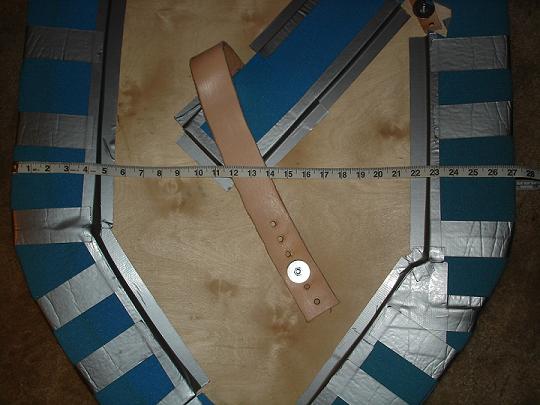
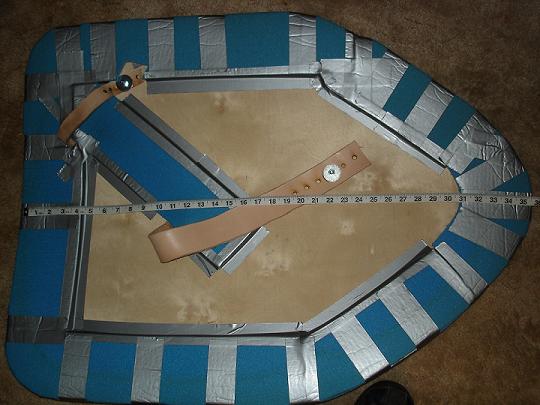
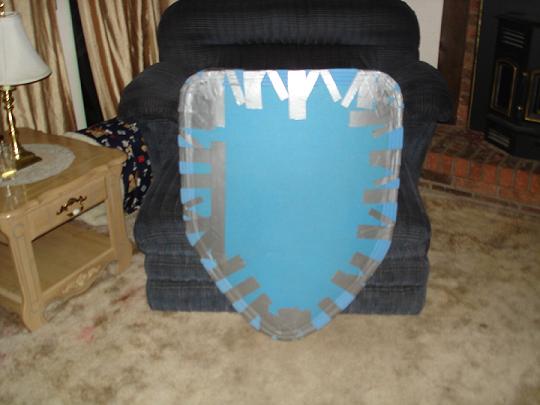
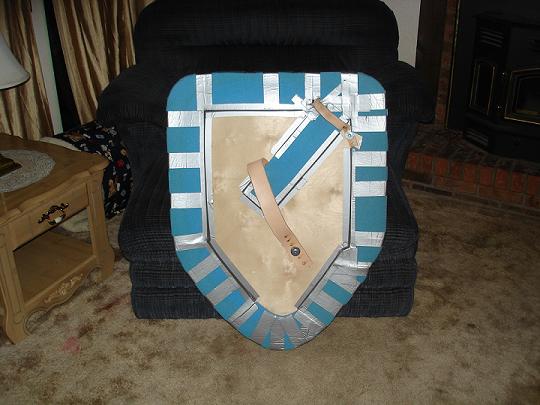
| − | [[Image:003_1.jpg]][[Image:004_1.jpg]]<br> | + | [[Image:003_1.jpg]] [[Image:004_1.jpg]]<br><br> |
| − | [[Image:001_1.jpg]][[Image:002_1.jpg]]<br> | + | [[Image:001_1.jpg]] [[Image:002_1.jpg]]<br><br> |
| + | [[Image:533_1.jpg]] [[Image:535_1.jpg]]<br> | ||
==See Also== | ==See Also== | ||
[[Constructing a Strap Shield]], | [[Constructing a Strap Shield]], | ||
[[Concave Sheild]], | [[Concave Sheild]], | ||
[[Constructing a Punch Shield]] | [[Constructing a Punch Shield]] | ||
Revision as of 04:48, 19 November 2010
This is a tutorial in constructing a curved shield blank. It is debatable but I for one believe that curved shields are superior to the traditional flat shield. The curvature of a shield can be an optical illusion in that it may look smaller than it really is. It will also help cover the problem areas of some flat shields don't. This might get you the common comments of "Damn big ass shield" or "WTF why can't I hit you." I hear them all the time with my curved heater so its shouldn't be taken as anything new. For those interested my shield is only 27" across and 35.5" tall it's not huge and close the desired 27" diameter shield in my opinion. Too much curve though can be a bad thing, because it will actually hinder a fighters ability to block effectively; a fighter can end up actually hitting themselves in the head with the corners of their shield.
Contents |
Materials Needed
- 1/4" 3 ply birch plywood 4'x8' (~$25 at Home Depot)
- Loctite PL 375 Heavy-Duty Construction Adhesive (~$5 at Home Depot)
- Skill/Table Saw
- Jig Saw (for shaping)
- Strapping Material
- Steel barrel or tree
- Marker or Chalk Line
- Sand Paper or Sander
- Measuring Tape
- Helper
Instructions
1) First you will need to figure out how many shields you want to get out of the plywood. If done perfectly you can get 4 shield blanks out of one sheet. Each shield in this case would be 24"x24". Completely finished these should be right around the preferred 27" most fighters like. Larger shields or smaller shields can be made just figure out how big or small you want the shield to be.
2) In this step you are going to measure out the dimensions and mark them on the plywood. For example if you were to do the 24"x24" you will have eight squares marked out on the plywood in a grid pattern. Obviously larger shields will need different measurements.
3) Cut the plywood on the marked lines with either a table saw or some other power saw. Ply wood will naturally "shred" some on the face; don't worry it's normal.
4) Now take equal pieces wipe them down so there isn't much saw dust left on them and use the PL 375 to glue them together. You will need a calking gun if you don't have one in this step or some way to force the adhesive out with out making a mess. Make sure that both pieces have good amount of adhesive on between them and then apply pressure by either standing or setting something on it for a couple minutes.
5) In this step you will be using the tree or barrel and the strapping material to make the curve. Take the glued pieces and set them against what ever you will be using and wrap the straps around the wood and the item. Tightening the straps slowly will allow the wood to slowly curve around. Be careful here because if tightened too fast or too far can result in the core breaking. You don't want to have more than a 2" dish in the shield; the dish is the depth of the curve. There will be some damage to the edges but nothing major.
6) After the adhesive has dried it can be removed from the drum, tree, or whatever was used to make the curve. Glueing both pieces of wood and then having it dry should force the wood to retain the curve once removed.
7) Here use the jig saw to trim the edges some because there will be some of the back piece will be hanging over slightly. ONLY THE FRONT PIECE WILL DETERMINE HOW BIG YOUR SHIELD IS NOW.
8) The rest from this point is done with the jig saw to cut any shapes into the shield. Still mark it off and make sure it's what is desired before cutting it. Once cut sand down the edges so they are smooth. Use Constructing a Strap Shield to finish the shield.
Other Tips
Remember that there are many many types of shield shapes that can be used (see Constructing a Strap Shield.) However please understand while a circle is usually the most desired by fighters with the cure they become another creature and they may not work exactly as you would like. I recommend using Constructing a Concave Shield if you want a round that is similar. This is pretty much awesome for Scutum, Kite, Heater, and Rectangle (yes a square is a rectangle too) shaped shields as well as some more unique designs.
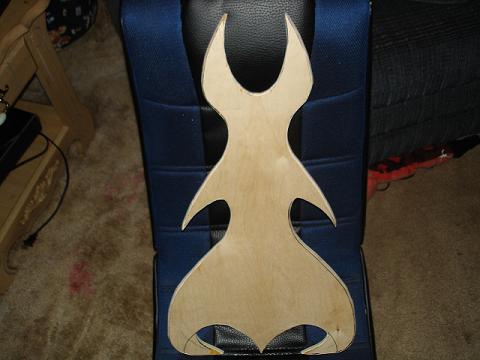
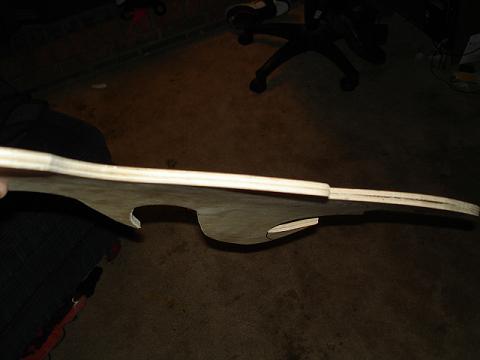
Examples
See Also
Constructing a Strap Shield, Concave Sheild, Constructing a Punch Shield
